|
This post will detail the steps involved to mix up my black slip I use for all of my black & white sgraffito forms. It's fairly simple if you use a white clay body (preferably without grog to keep a smooth consistency). I fire this slip to cone 5/6 in an electric kiln. The temperature it can be fired to depends on the clay you use as the base of the slip.
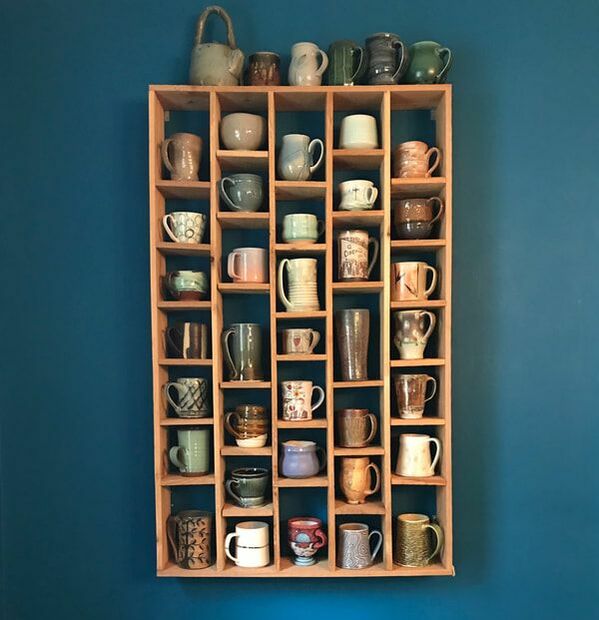
If you are a handmade pottery collector like me, I run out of cabinet space quickly as my collection grows. As my wife and I outgrew our kitchen cabinets, we thought of ways to display our selection of handmade cups and mugs that would require less effort than ripping out our cabinets and replacing them with an open shelving concept.
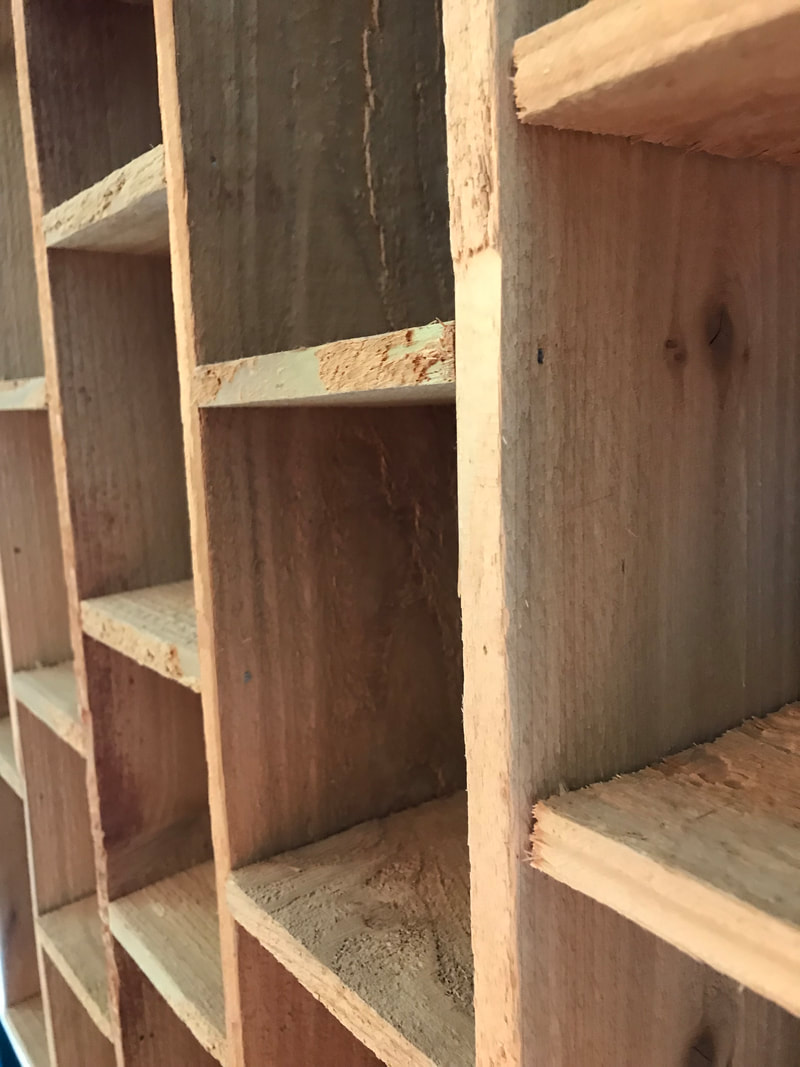
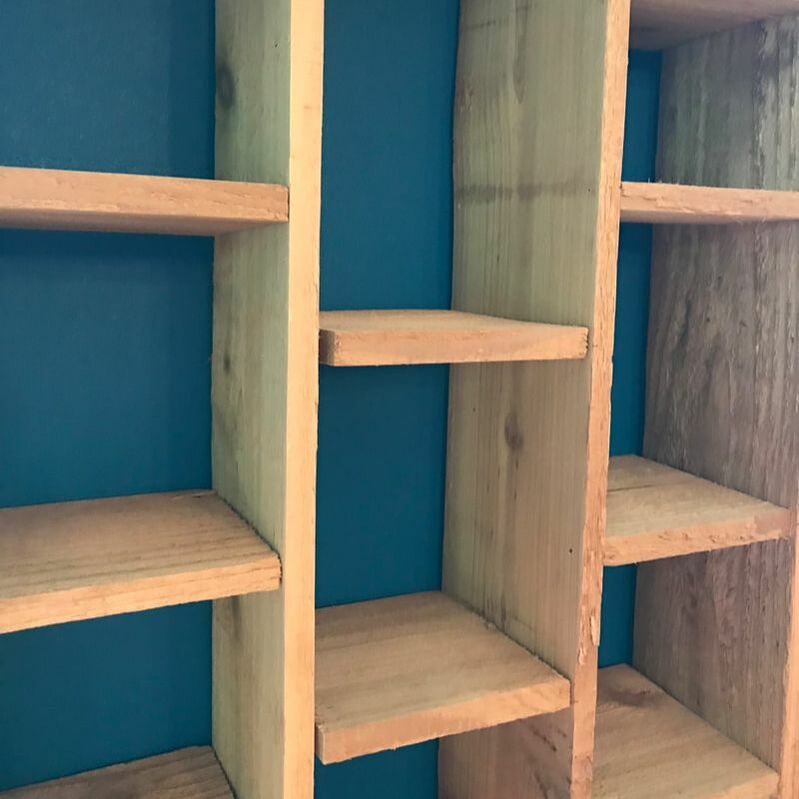
Another thing about me that you may or may not know, I am a cheap ass. I'm not looking to spend $200+ on a cool shelving display that isn't just some cookie cutter laminate shelving unit or adding a few horizontal shelves to the wall. A boring shelving unit can cheapen the contents inside it, so I decided to use my planning, design, and woodworking skills to come up with something that didn't cost too much. The result is the image you see above that holds 35 pieces of varying sizes and shapes to make one hell of an interesting wall piece! I'm going to walk you through the materials, tools, and steps required to make this same mug shelf so you can display your handmade collection inside it's own work of art. If you are a maker yourself, I don't have to tell you how much more you appreciate something when you put the planning, time, and struggle into building something yourself. Let's get to it! |
Ryan DurbinMy thoughts and findings while I grow as a maker, small business owner, and artist. Archives
July 2022
Categories
All
|
Proudly powered by Weebly


